

Introduction to Cheesy Garlic Breadsticks
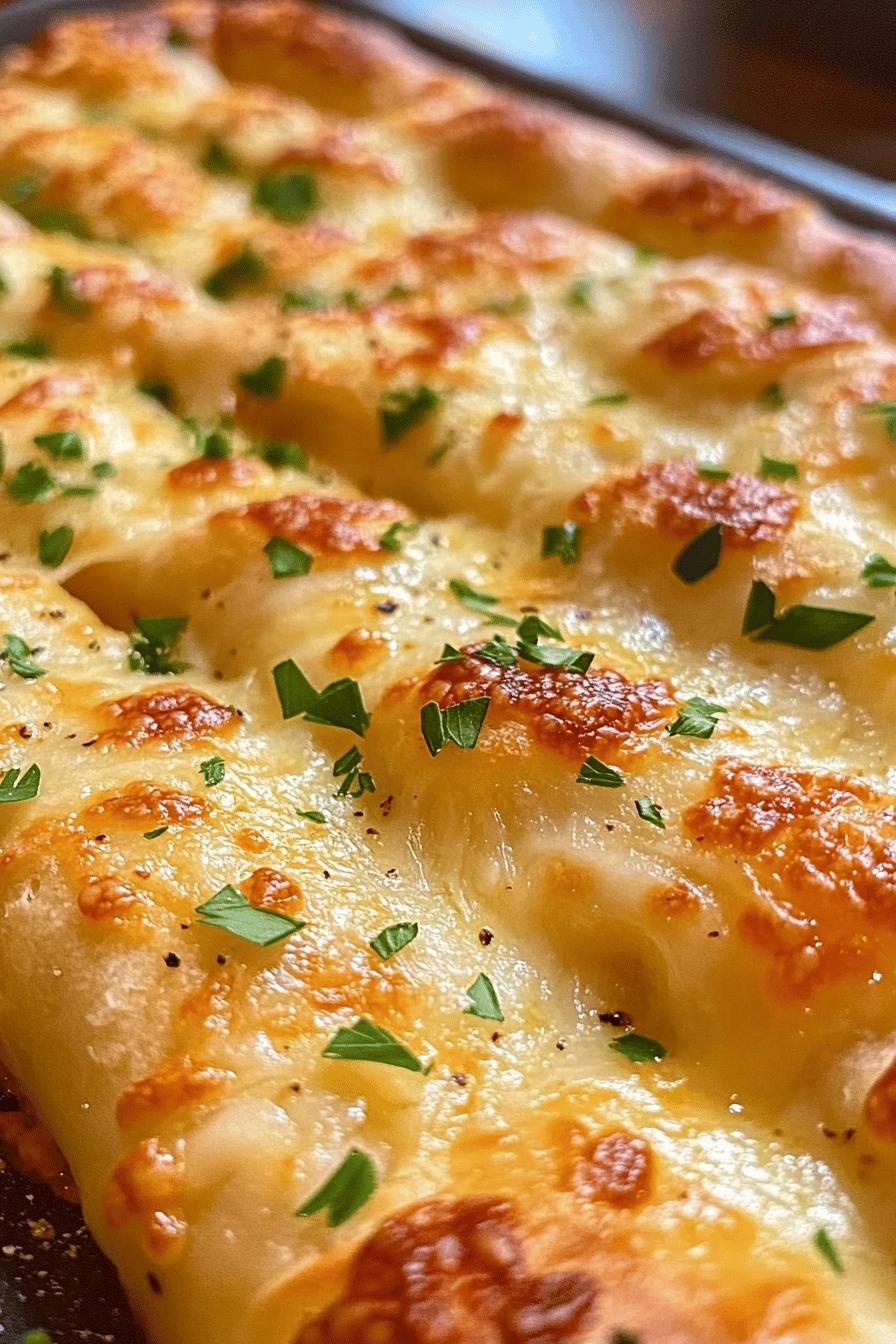
Cheesy Garlic Breadsticks are a delightful treat that can brighten up any meal. Whether you’re enjoying a cozy night in or hosting a gathering, these breadsticks are sure to impress. Their crispy exterior and gooey, cheesy interior make them a favorite among many. Plus, the aroma of garlic wafting through your kitchen is simply irresistible!
What Makes Cheesy Garlic Breadsticks Irresistible?
What truly sets Cheesy Garlic Breadsticks apart is their perfect blend of flavors and textures. The combination of warm, freshly baked bread with melted cheese creates a comforting experience. Garlic adds a savory kick, enhancing the overall taste. Each bite is a delightful mix of crunch and chewiness, making it hard to stop at just one!
Moreover, these breadsticks are incredibly versatile. You can enjoy them as a snack, appetizer, or even as a side dish with your favorite pasta. They pair wonderfully with marinara sauce or ranch dressing, adding an extra layer of flavor. The best part? They are easy to make at home, allowing you to customize them to your liking.
So, if you’re looking for a quick and satisfying recipe, look no further! Cheesy Garlic Breadsticks are not just food; they are an experience. Get ready to indulge in this cheesy goodness that will leave you craving more!
Ingredients for Cheesy Garlic Breadsticks
To create the perfect Cheesy Garlic Breadsticks, you’ll need a few simple ingredients. These items are easy to find and will help you whip up a batch in no time. Here’s what you’ll need:
- 2 cups all-purpose flour
- 1 packet (2 ¼ teaspoons) active dry yeast
- 1 teaspoon sugar
- ¾ cup warm water (about 110°F)
- 1 teaspoon salt
- 2 tablespoons olive oil
- 3 cloves garlic, minced
- 1 cup shredded mozzarella cheese
- ½ cup grated Parmesan cheese
- 1 teaspoon dried oregano (optional)
- 1 teaspoon garlic powder (optional)
These ingredients come together to create a deliciously cheesy and garlicky flavor. The combination of mozzarella and Parmesan gives the breadsticks a rich, creamy texture. You can also add herbs like oregano for an extra burst of flavor. Feel free to adjust the quantities based on your taste preferences!
Now that you have your ingredients ready, let’s move on to the next step: preparing the dough for your Cheesy Garlic Breadsticks. This is where the magic begins!
Step-by-Step Preparation of Cheesy Garlic Breadsticks
Now that you have gathered all your ingredients, it’s time to dive into the fun part: preparing your Cheesy Garlic Breadsticks! Follow these simple steps to create a batch that will have everyone asking for more.
Step 1: Preparing the Dough for Cheesy Garlic Breadsticks
First, let’s get that dough ready! In a large mixing bowl, combine the warm water, sugar, and yeast. Stir gently and let it sit for about 5 minutes. This allows the yeast to activate, making your breadsticks fluffy and light.
Once the yeast mixture is frothy, add the olive oil and salt. Gradually mix in the flour, one cup at a time, until a soft dough forms. You may need to use your hands to knead the dough for about 5 minutes. It should be smooth and elastic. If it’s too sticky, sprinkle a little more flour as needed.
Step 2: Shaping the Cheesy Garlic Breadsticks
After your dough is ready, it’s time to shape those breadsticks! Lightly flour your work surface and roll out the dough into a rectangle, about ½ inch thick. Use a pizza cutter or a sharp knife to cut the dough into strips, about 1 inch wide. You can make them as long or short as you like!
Next, take each strip and twist it gently to create a fun shape. Place the twisted breadsticks on a baking sheet lined with parchment paper. Make sure to leave some space between each stick, as they will rise while baking.
Step 3: Adding the Garlic and Cheese Topping
Now comes the best part—adding the toppings! In a small bowl, mix the minced garlic with a little olive oil. Brush this mixture generously over each breadstick. This will give them that delicious garlic flavor.
Next, sprinkle the shredded mozzarella and grated Parmesan cheese over the top of each breadstick. If you’re using dried oregano or garlic powder, now is the time to add those as well. The more cheese, the better!
Step 4: Baking the Cheesy Garlic Breadsticks
It’s time to bake! Preheat your oven to 375°F (190°C). Once the oven is hot, place the baking sheet with the breadsticks inside. Bake for about 15-20 minutes, or until they are golden brown and the cheese is bubbly.
When they’re done, take them out and let them cool for a few minutes. The aroma will fill your kitchen, making it hard to resist! Serve warm and enjoy your homemade Cheesy Garlic Breadsticks!
Variations of Cheesy Garlic Breadsticks
While the classic Cheesy Garlic Breadsticks are already a hit, there are many ways to make them even more exciting! By adding different herbs, spices, or cheese varieties, you can create a unique twist on this beloved recipe. Let’s explore some fun variations that will elevate your breadsticks to the next level!
Adding Herbs and Spices
Herbs and spices can transform your Cheesy Garlic Breadsticks into a flavor explosion! Here are some ideas:
- Fresh Herbs: Consider adding fresh basil, parsley, or thyme to the garlic mixture. Chopped fresh herbs will give your breadsticks a vibrant taste.
- Red Pepper Flakes: If you enjoy a bit of heat, sprinkle some red pepper flakes on top before baking. This will add a spicy kick!
- Italian Seasoning: Mix in Italian seasoning with the garlic and olive oil for a classic Italian flavor. This blend often includes oregano, basil, and rosemary.
- Smoked Paprika: For a smoky flavor, try adding smoked paprika to the cheese topping. It pairs wonderfully with garlic!
Feel free to experiment with different combinations. The addition of herbs and spices can make your Cheesy Garlic Breadsticks truly one-of-a-kind!
Different Cheese Options for Cheesy Garlic Breadsticks
Cheese is the star of the show in Cheesy Garlic Breadsticks, and there are many varieties to choose from. Here are some delicious options:
- Cheddar Cheese: Swap out mozzarella for sharp cheddar for a bolder flavor. It melts beautifully and adds a rich taste.
- Monterey Jack: This cheese is creamy and mild, making it a great addition. It melts well and complements the garlic perfectly.
- Feta Cheese: Crumbled feta can add a tangy twist. Mix it with mozzarella for a delightful contrast.
- Gouda: For a smoky and nutty flavor, try using gouda cheese. It adds a unique taste that will surprise your guests!
Mix and match different cheeses to find your favorite combination. The possibilities are endless, and each variation will bring a new taste experience to your Cheesy Garlic Breadsticks!
Cooking Note for Cheesy Garlic Breadsticks
When making Cheesy Garlic Breadsticks, a few cooking notes can help ensure your breadsticks turn out perfectly every time. Here are some tips to keep in mind:
- Yeast Activation: Always check the expiration date on your yeast. Fresh yeast is crucial for the dough to rise properly. If your yeast doesn’t foam after mixing with warm water and sugar, it may be inactive.
- Temperature Matters: Make sure your water is warm, not hot. Water that’s too hot can kill the yeast, while water that’s too cold won’t activate it. Aim for about 110°F (43°C).
- Kneading Technique: Knead the dough until it’s smooth and elastic. This helps develop gluten, giving your breadsticks a nice chewy texture. If the dough feels too sticky, sprinkle a little flour as you knead.
- Baking Sheet Preparation: Line your baking sheet with parchment paper. This prevents the breadsticks from sticking and makes cleanup a breeze.
- Watch the Oven: Ovens can vary in temperature. Keep an eye on your breadsticks as they bake. You want them golden brown and bubbly, but not burnt!
- Cooling Time: Allow the breadsticks to cool for a few minutes after baking. This helps the cheese set slightly, making them easier to handle and eat.
By following these cooking notes, you’ll be well on your way to creating delicious Cheesy Garlic Breadsticks that everyone will love. Happy baking!
Serving Suggestions for Cheesy Garlic Breadsticks
Once your Cheesy Garlic Breadsticks are baked to perfection, it’s time to think about how to serve them. These delightful treats can be enjoyed in various ways, making them a versatile addition to any meal or gathering. Here are some fantastic serving suggestions to elevate your cheesy experience!
Pairing Cheesy Garlic Breadsticks with Dips
Dips can take your Cheesy Garlic Breadsticks to a whole new level! Here are some delicious options to consider:
- Marinara Sauce: A classic pairing! The tangy tomato sauce complements the cheesy garlic flavor beautifully. It’s perfect for dipping!
- Ranch Dressing: Creamy ranch adds a cool contrast to the warm breadsticks. This combination is a crowd-pleaser!
- Garlic Butter: For garlic lovers, a simple garlic butter dip can enhance the flavor. Melt butter and mix in minced garlic for a rich dip.
- Spinach Artichoke Dip: For a more indulgent option, serve your breadsticks with a warm spinach artichoke dip. The creamy texture pairs wonderfully!
Feel free to get creative! You can even mix and match different dips to cater to everyone’s taste. Your guests will love the variety!
Serving Cheesy Garlic Breadsticks as an Appetizer
Cheesy Garlic Breadsticks make an excellent appetizer for any occasion. Here’s how to serve them:
- Presentation: Arrange the breadsticks on a large platter. You can garnish with fresh herbs like parsley or basil for a pop of color.
- Accompanying Dishes: Serve them alongside a fresh salad or a charcuterie board. This adds a nice balance to your appetizer spread.
- Individual Portions: For a more formal setting, consider serving individual breadsticks in small baskets. This makes it easy for guests to grab and enjoy!
- Warmth is Key: Always serve your breadsticks warm. If they cool down, pop them back in the oven for a few minutes to reheat.
By following these serving suggestions, your Cheesy Garlic Breadsticks will be the star of the show. They’re sure to impress your family and friends, making any gathering a memorable one!
Tips for Perfect Cheesy Garlic Breadsticks
Creating the perfect Cheesy Garlic Breadsticks is all about attention to detail. With a few helpful tips, you can ensure that your breadsticks turn out delicious every time. Here are some essential tips to keep in mind:
- Use Fresh Ingredients: Always opt for fresh yeast and high-quality cheese. Fresh ingredients enhance the flavor and texture of your breadsticks.
- Don’t Rush the Dough: Allow the dough to rise properly. This step is crucial for achieving that light and fluffy texture. Let it rise in a warm place until it doubles in size.
- Experiment with Cheese: Don’t hesitate to mix different types of cheese. Combining mozzarella with cheddar or gouda can create a unique flavor profile that everyone will love.
- Brush Generously: When applying the garlic and olive oil mixture, be generous! This ensures that every bite is packed with flavor.
- Adjust Baking Time: Keep an eye on your breadsticks as they bake. Ovens can vary, so check for that golden brown color and bubbly cheese to know they’re ready.
- Serve Immediately: For the best experience, serve your Cheesy Garlic Breadsticks right out of the oven. They taste best when warm and fresh!
- Store Properly: If you have leftovers, store them in an airtight container. Reheat them in the oven for a few minutes to regain their crispy texture.
By following these tips, you’ll be well on your way to mastering the art of making Cheesy Garlic Breadsticks. Each batch will be a delightful treat that your family and friends will adore!
Breakdown of Time for Cheesy Garlic Breadsticks
When it comes to making Cheesy Garlic Breadsticks, knowing how much time to set aside is essential. This recipe is not only delicious but also quick to prepare. Here’s a breakdown of the time you’ll need for each step, so you can plan accordingly!
Prep Time
The prep time for Cheesy Garlic Breadsticks is approximately 20 minutes. This includes gathering your ingredients, preparing the dough, and shaping the breadsticks. It’s a straightforward process that doesn’t require any special skills. Just follow the steps, and you’ll be ready to bake in no time!
Cooking Time
Once your breadsticks are shaped and topped, the cooking time is about 15 to 20 minutes. You’ll want to bake them until they are golden brown and the cheese is bubbly. Keep an eye on them as they bake, as oven temperatures can vary. This is the time when your kitchen will fill with that irresistible garlic aroma!
Total Time
In total, you can expect to spend around 35 to 40 minutes from start to finish. This includes both prep and cooking time. With such a quick turnaround, Cheesy Garlic Breadsticks are perfect for a last-minute snack or a delightful addition to any meal. So, gather your ingredients and get ready to enjoy this cheesy goodness!
Nutritional Information for Cheesy Garlic Breadsticks
Understanding the nutritional content of your Cheesy Garlic Breadsticks can help you enjoy them guilt-free. While they are a delicious treat, it’s good to know what you’re indulging in. Here’s a breakdown of the key nutritional information for a serving of these delightful breadsticks.
Calories in Cheesy Garlic Breadsticks
Each serving of Cheesy Garlic Breadsticks contains approximately 200 calories. This makes them a satisfying snack or appetizer without being overly heavy. The combination of cheese and garlic adds flavor while keeping the calorie count reasonable. Enjoying them in moderation is key!
Protein Content in Cheesy Garlic Breadsticks
In terms of protein, each serving provides about 8 grams. The cheese contributes significantly to this protein content, making these breadsticks a good option for a quick energy boost. Pairing them with a protein-rich dip can enhance the overall protein intake, making your snack even more fulfilling.
Sodium Levels in Cheesy Garlic Breadsticks
When it comes to sodium, a serving of Cheesy Garlic Breadsticks contains around 400 milligrams. This level is typical for baked goods that include cheese and salt. If you’re watching your sodium intake, consider using low-sodium cheese or reducing the salt in the dough. This way, you can still enjoy the flavor without the extra sodium.
Overall, Cheesy Garlic Breadsticks can fit into a balanced diet. They are a delightful treat that can be enjoyed on special occasions or as a comforting snack. Just remember to savor each bite!
FAQs about Cheesy Garlic Breadsticks
Can I make Cheesy Garlic Breadsticks ahead of time?
Absolutely! You can prepare the dough for Cheesy Garlic Breadsticks ahead of time. After shaping the breadsticks, cover them with plastic wrap and refrigerate for up to 24 hours. When you’re ready to bake, simply let them sit at room temperature for about 30 minutes before baking. This allows the dough to rise slightly and ensures a fluffy texture. You can also bake them ahead of time and reheat them in the oven for a few minutes before serving.
What can I use instead of garlic in Cheesy Garlic Breadsticks?
If you’re looking for a garlic-free option, there are several alternatives you can try. For a similar flavor, consider using onion powder or shallots. You can also experiment with other herbs like rosemary or thyme to add a different taste. If you want a cheesy flavor without garlic, try adding a sprinkle of nutritional yeast or a dash of garlic salt for a subtle hint of flavor.
How do I store leftover Cheesy Garlic Breadsticks?
To store leftover Cheesy Garlic Breadsticks, place them in an airtight container. They can be kept at room temperature for up to two days. If you want to keep them fresh for longer, consider refrigerating them. Just make sure to reheat them in the oven for a few minutes to regain their crispy texture. Avoid microwaving, as this can make them chewy instead of crispy.
Can I freeze Cheesy Garlic Breadsticks?
Yes, you can freeze Cheesy Garlic Breadsticks! After baking, let them cool completely. Then, wrap each breadstick in plastic wrap and place them in a freezer-safe bag. They can be frozen for up to three months. When you’re ready to enjoy them, simply reheat them in the oven at 375°F (190°C) for about 10-15 minutes. This will help restore their delicious texture and flavor!
Conclusion on Cheesy Garlic Breadsticks
In conclusion, Cheesy Garlic Breadsticks are not just a recipe; they are a delightful experience that brings joy to any meal. With their crispy exterior and gooey, cheesy center, these breadsticks are sure to become a favorite in your household. They are easy to make, versatile, and perfect for any occasion, whether it’s a cozy family dinner or a lively party with friends.
Why You Should Try Making Cheesy Garlic Breadsticks Today
So, why wait? Making Cheesy Garlic Breadsticks today is a fantastic idea! Not only will you enjoy the process of baking, but you’ll also fill your home with the irresistible aroma of garlic and cheese. Plus, they are a great way to impress your family and friends with your culinary skills.
With simple ingredients and straightforward steps, you can whip up a batch in no time. Whether you stick to the classic recipe or experiment with different cheeses and spices, each bite will be a delicious treat. Don’t forget to pair them with your favorite dips for an extra flavor boost!
So grab your apron, gather your ingredients, and get ready to indulge in the cheesy goodness of homemade Cheesy Garlic Breadsticks. Your taste buds will thank you!
Relevant Recipes Link:
Looking to elevate your dinner game with cheesy and garlic-infused dishes? These recipes are a must-try:
- Cheesy Garlic Zucchini Steaks: A Flavorful Twist
- Creamy Garlic Steak: A Luxurious Indulgence
- Cheesy Garlic Chicken Wraps: Irresistibly Delicious
For more fantastic recipes and culinary inspiration, follow us on Pinterest!